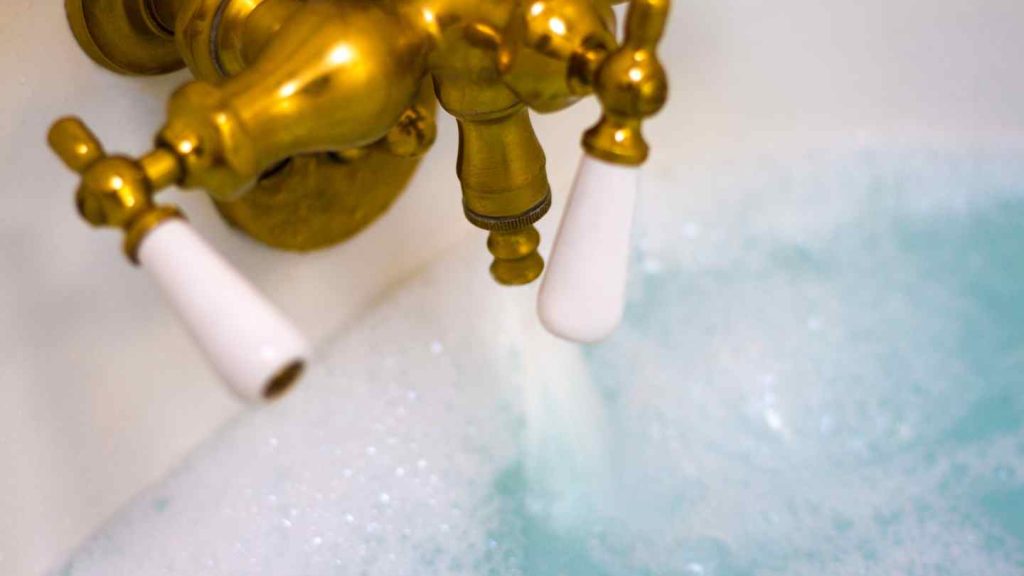
What if we told you there’s a secret method to replace your Roman Tub Faucet without tearing up your walls?
Welcome, fellow DIY enthusiasts! Are you ready to tackle the challenge of replacing your aging Roman tub faucet but feel daunted by the absence of an access panel? Fear not, for we’ve got your back!
In this Home Centrale’s comprehensive guide, we will walk you through the step-by-step process of replacing your Roman tub faucet without the luxury of an access panel. Get ready to unveil the mystery and transform your home into a haven of functionality and style.
Related: how much to renovate a small bathroom (#7 will save you money)
Equipment and Materials Needed
To ensure a smooth DIY replacement process, let’s gather all the necessary tools and materials:
- Adjustable wrenches
- Plumber’s tape
- Putty knife
- Roman tub faucet replacement kit
- Caulking
- Silicone
- Plumber’s putty (if applicable)
Preparing for a Faucet Replacement
Prepare yourself for success by following these essential steps:
Step 1: Turn off the Water Supply
Before embarking on any plumbing project, it’s crucial to shut off the water supply. Locate the water shut-off valves for your tub and turn them off completely to prevent any potential water damage during the faucet replacement process.
Step 2: Drain the Tub
Ensure a dry and hassle-free replacement experience by properly draining the tub. Use the tub’s drain stopper or any other appropriate method to empty the tub completely. This will minimize the risk of water spillage during the replacement.
Step 3: Protect the Tub
Take the extra precaution of safeguarding your tub from any accidental scratches or damages during the replacement. Cover the surface of the tub with a soft cloth or a plastic sheet, ensuring it stays clean and unscathed throughout the process.
“Embrace the challenge of the unknown. With determination and our step-by-step guide, you can replace your Roman tub faucet like a pro! #DIY #HomeImprovement #GuideToSuccess [insert link]”
Also read: 9 Trouble-Shooting Tips On Why Your Gas Oven is Not Getting Hot Enough
Removing the Existing Roman Tub Faucet
Now that we’ve got the preparation covered, let’s move on to the crucial first step of replacing your Roman tub faucet:

Step 1: Remove Decorative Caps or Handles
Start by carefully removing any decorative caps or handles that may be concealing the faucet. These can usually be unscrewed by hand or with the help of a small tool like a screwdriver. Set aside these components for later use, as they might be reusable with your new faucet.
Step 2: Unscrew the Escutcheon Plate and Handle Adapter
Use an appropriate adjustable wrench to unscrew the escutcheon plate and handle adapter, if applicable. These components secure the faucet to the tub, so take your time to loosen them properly. If any screws are difficult to remove, applying a penetrating oil like WD-40 and allowing it to sit for a few minutes can help ease the process.
Step 3: Deal with Stubborn Screws or Connections
If you encounter any stubborn screws or connections during the removal process, don’t fret. Applying gentle heat, such as using a hairdryer, can help in loosening the connections. Take care not to overheat any surrounding materials or fixtures.
Assessing the Plumbing Situation
Before moving forward, it’s important to assess the existing plumbing situation to ensure a seamless faucet replacement:
Step 1: Evaluate the Fittings, Pipes, and Connections
Thoroughly inspect the fittings, pipes, and connections for any signs of damage or underlying issues that may require professional attention. Look for leaks, corrosion, or any visible wear and tear. If you notice any major concerns, it might be wise to consult a plumber to address these issues before proceeding.
If this is your first time, take a clear picture of the fittings, as this will help you to correctly replace an installation without missing any part.
Preparing for the New Roman Tub Faucet Installation
We’re getting closer to installing your new and improved Roman tub faucet! Let’s ensure a successful installation process:
Step 1: Measure and Align the New Faucet
Precision is key to a well-installed faucet. Take accurate measurements of the new faucet and ensure it fits the mounting holes on your tub accurately. Carefully align the faucet in the desired position before proceeding to the installation.
Step 2: Clean the Installation Area
Prepare the installation area by cleaning it thoroughly. Remove any residue, debris, or old sealants. A putty knife can be an effective tool to scrape away any stubborn remnants. A clean surface will guarantee a secure and leak-free installation.
Also read: How To Fix a Pilot Light on a Gas Oven in 5 Simple Steps
Installing the New Roman Tub Faucet
Now, the long-awaited moment has arrived – it’s time to install that sparkling new Roman tub faucet:
Step 1: Install the Escutcheon Plate
Using the provided hardware and following the manufacturer’s instructions, install the escutcheon plate in the designated spot on your tub. Make sure it fits snugly and securely.
Step 2: Attach the Handle Adapter
Attach the handle adapter to the faucet body underneath the tub. Follow the manufacturer’s instructions to ensure proper alignment and secure attachment. Check that the handle adapter is tightly fastened.
Step 3: Connect the Spout
Attach the spout to the designated opening on the escutcheon plate. Depending on the design of your new faucet, there may be specific instructions for aligning and securing the spout. Carefully follow these instructions to ensure a proper fit.
Step 4: Tighten All Connections
Tighten all connections, ensuring everything is secure and leak-free. Use an adjustable wrench to carefully tighten the fittings and connections, taking care not to overtighten and damage any components. Remember to use a plumber’s tape on threaded connections for added security against leaks.
Testing the New Faucet
With the installation complete, it’s time to put your new Roman tub faucet to the test:
Step 1: Check for Leaks
Turn on the water supply to the tub and observe the new faucet closely for any signs of leaks. Keep an eye on the connections, especially those you tightened during the installation. If you notice any leaks, carefully tighten the respective connections while the water supply is still turned on and screw until the leaks are resolved.
Step 2: Test the Functionality
Once satisfied that there are no leaks, test the functionality of your new faucet. Ensure hot and cold water flows smoothly, and that the handles operate correctly. If any issues arise, consult the manufacturer’s instructions or seek professional assistance as needed.
Finishing Touches
Completing a project is always satisfying, but it’s essential to pay attention to the final details:
Step 1: Apply Silicone or Caulking
To prevent water damage, apply silicone or caulking around the edges of the installed faucet. This will help create a watertight seal and ensure the longevity of your new Roman tub faucet.
Step 2: Clean Up and Admire Your Handiwork
With everything in place, clean up any mess created during the installation process. Ensure your bathroom is tidy and free from any debris. Take a moment to admire your newfound accomplishment and revel in the beauty and functionality of your newly replaced Roman tub faucet.
Conclusion
Congratulations! You have successfully replaced your Roman tub faucet without an access panel, and you’ve just proved that no challenge is too great for a dedicated DIYer!
Remember to take your time, follow the instructions meticulously, and seek professional assistance if necessary. We hope this step-by-step guide has empowered you to tackle future plumbing projects with confidence. Don’t hesitate to share your experiences or ask any questions in the comments below. Happy DIYing!