Have you had difficulty fixing the pilot light in your gas oven? Don’t worry – most of us have, but fixing this issue is a relatively simple process. With just a few basic tools and a bit of know-how, you can have your oven back up and running in no time.
In this guide, we’ll show you how to fix a pilot light on a gas oven in 5 simple steps. All you need is a few minutes and the right supply of tools, and you’ll be able to get the job done quickly and safely. So let’s get started and get your oven up and running again!
What Is a Pilot Light and Why Does It Matter for Your Gas Oven?

A pilot light is a small flame that continuously burns on your gas oven, serving as the ignition source for the burners. Gas stoves with pilot lights were commonly used in the past, but they have largely been replaced by electric igniters that are more efficient.
However, some gas ovens still rely on a pilot light to function. If the pilot light on your gas oven goes out, the burners won’t light up, making it impossible to cook food. In other words, a functioning pilot light is essential for your gas oven to work properly.
The pilot light not turning on can be caused by various factors such as dirt buildup, a faulty thermocouple, or a clogged pilot tube. If you have noticed that the pilot light on your furnace is out, you may need to take action to fix it yourself or hire a professional to help. It is crucial to ensure that the pilot light is working correctly, as the gas flow can pose a fire or explosion risk if not properly handled.
So, if you’re experiencing oven problems and suspect the pilot light is the issue, read on to know the signs to look out for in a faulty gas oven pilot light.
Common Signs That Your Pilot Light May Need To Be Fixed
It’s important to know when your gas oven’s pilot light may need fixing to avoid any potential danger or damage to your oven. Here are some signs to look out for:
Constantly Extinguishing:
If you notice that the pilot light keeps going out frequently, even after relighting it, it could indicate a problem. A healthy pilot light should remain lit consistently until turned off.
Weak or Yellow Flame:
A properly functioning pilot light should have a strong, steady blue flame. If you observe a weak or yellow flame, it may indicate a dirty or clogged pilot light, which requires cleaning or adjustment.
Difficulty Igniting:
When you attempt to light the pilot light, if you experience difficulty in getting it to ignite or if it takes multiple tries to light up, it could suggest a problem. This might be due to a faulty ignition system or a malfunctioning pilot light assembly.
Gas Odor:
If you smell a distinct gas smell near your gas oven, it is crucial to address the issue promptly. A gas odor or smell can indicate a gas leak, and a malfunctioning pilot light could be the source. Gas leaks are dangerous and require immediate attention from a professional.
Sooting or Deposits:
If you notice the presence of black soot or excessive deposits around the pilot light area or on the burner, it could indicate a problem with the pilot light. Sooting can be caused by an improper mixture of gas and air, which can result from a malfunctioning pilot light or burner assembly.
Equipment You’ll Need To Fix the Pilot Light
To properly fix the pilot light for your gas oven, you’ll need some household tools. Here are the items you’ll need:
1. A flashlight: Some pilot light systems are built within the oven and you’ll need to be able to see the pilot light clearly, and a flashlight will come in handy for this.
2. A screwdriver: Most pilot lights are located behind a cover, which you’ll need to remove in order to access it. A screwdriver will be necessary for this step.
3. A gas valve: If your pilot light has gone out completely, you may need to relight it using a gas valve. Make sure you have one on hand before you start.
4. A needle or wire: In some cases, your pilot light may just be clogged with dirt or debris. A needle or wire can be used to clean it out.
5. Safety equipment: When working with gas appliances, it’s important to take proper safety precautions. This includes wearing gloves and safety goggles to protect your hands and eyes.
6. A Multimeter: This device is needed to measure the electric current, voltage, and resistance of your thermocouple
Step-by-Step Guide on How To Fix a Pilot Light on a Gas Oven
To fix the pilot light of your gas oven, here are the steps to take:
Step 1: Turn off the Gas Supply
Before you start any repairs on your gas oven, the first thing you should do is turn off the gas supply. Make sure the gas valve that supplies your oven is turned off completely. This is an important safety step that you shouldn’t skip.
Step 2: Locate the Pilot Light
Next, locate the pilot light on your gas oven. Oftentimes you’ll find it towards the back of the oven, close to the burner. The pilot light is a small flame that burns constantly and ignites the oven burner when the oven is turned on. You may use the picture guide to find out where yours is located, or you may refer to the user manual from the manufacturer.
Step 3: Clean the Pilot Light
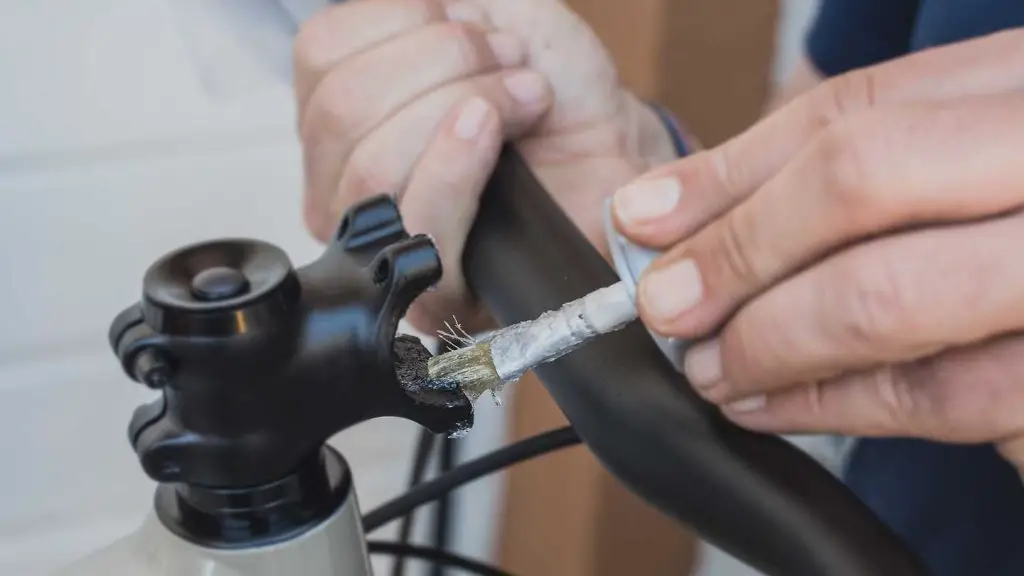
The next step is to clean the pilot light after you’ve located it. Use a small brush or a piece of wire to remove any debris or dirt that may have accumulated around the pilot light. This will help to ensure that the pilot light burns more efficiently.
Step 4: Check the Thermocouple
The thermocouple is located near the pilot light. When the pilot light is lit, it senses the heat and signals the gas valve to open. To check the thermocouple, remove it from the oven and use a multimeter to test its continuity. If it’s faulty, replace it.
If you are unsure how a thermocouple works, we have written a guide on it, and you can access that here. Once you are done, you can come back to this article.
Step 5: Light the Pilot Light
After cleaning the pilot light and checking the thermocouple, the final step is to relight the pilot light. Hold a lit match or a lighter to the pilot light while simultaneously pressing down on the oven’s control knob. This should ignite the pilot light. Once the pilot light is burning, release the knob and turn it to the desired temperature to ignite the burner.
If you have taken the steps we have provided and your pilot light is still faulty then you should let a professional technician see it. Safety should always be your top priority when working with gas appliances. If you’re not confident in your ability to fix the pilot light yourself, don’t hesitate to call a professional. Attempting to repair a faulty pilot light without the proper training or experience can be dangerous and could result in further damage to your oven or even cause a gas leak.
Related: Thermocouple 101: What is a Thermocouple
Safety Tips To Keep in Mind When Fixing the Pilot Light
When dealing with gas appliances, safety should always be a top priority. Here are some important tips to keep in mind when fixing the pilot light on your gas oven:
- Turn off the gas supply – Before attempting to fix the pilot light on your gas oven, it is crucial to turn off the gas supply to avoid any potential leaks. You can do this by locating the valve near the oven and turning it off.
2. Ventilate the area – It’s essential to ensure proper ventilation in the area where you are working on your oven. Open windows and doors to provide fresh air flow and prevent any gas buildup.
3. Use protective gear – Wear protective gear like gloves and eye protection when working with gas appliances. Also, avoid loose clothing and keep long hair tied back.
4. Follow instructions carefully – Be sure to follow the manufacturer’s instructions and the step-by-step guide we provided above when fixing the pilot light. Doing so will help you avoid mistakes that could lead to injury.
5. Call for help if needed – If you feel uncomfortable fixing the pilot light on your gas oven or are unsure of what to do, don’t hesitate to call a professional. It’s better to be safe than sorry; a trained technician can ensure the job is done correctly and safely.
6. Have a fire extinguisher that is made explicitly for gas/oven fires nearby: A fire extinguisher is very important in case of a fire. You should also ensure that your fire alarm for your home is in perfect condition in case of any emergencies.
Remember, the pilot light on your gas oven is a critical component of your appliance, and neglecting its repair could lead to bigger problems.


