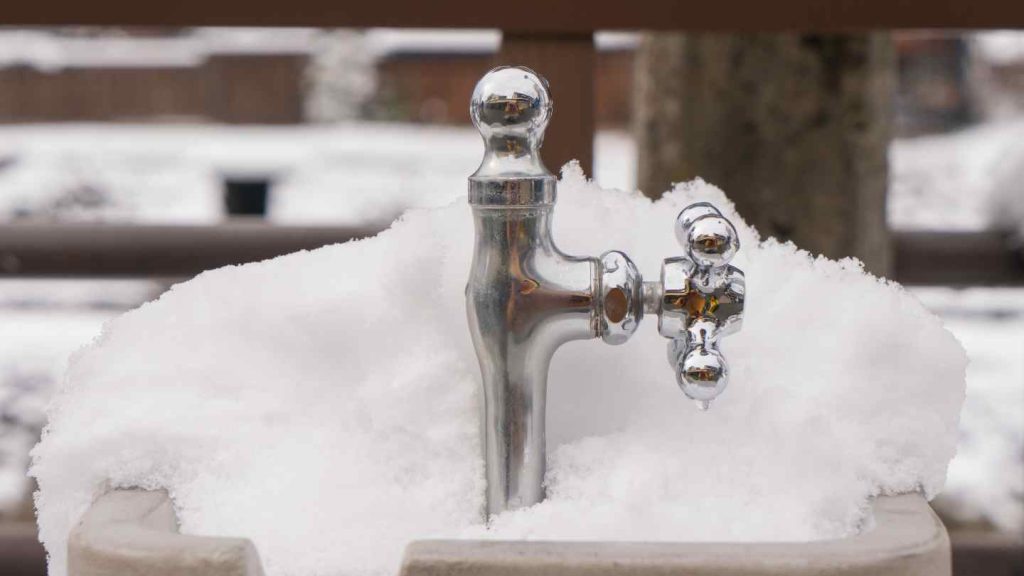
Greetings, homeowners! As winter casts its icy spell, it’s crucial to safeguard your outdoor faucets from the clutches of Jack Frost. Ignoring this essential winterization step can lead to significant troubles such as burst pipes, irreversible damage to plumbing systems, and unnecessary repair expenses. Don’t worry, though; it’s easier than you might think to protect your outdoor faucets from freezing!
Here are the steps you need to take to guard against the frosting of your outdoor faucets. Follow them and you’ll do just fine throughout the winter season.
Disconnect and Drain the Hose
Before the first frost arrives (the first frost in your area may differ, you can check here with your area zip code) it’s vital to disconnect and drain your garden hose properly. This step prevents any trapped water from freezing inside the hose, potentially damaging it. Here’s how to do it:
1. Unscrew the hose from the outdoor faucet, ensuring you release any residual water pressure. Be cautious not to twist or damage the faucet threading in the process.
2. Once disconnected, elevate one end of the hose higher than the other to allow gravity to assist in shedding any remaining water. You may also use a sloped surface or a hose reel.
3. Begin draining the hose by walking or pulling it along its length, gradually emptying it of water completely.
4. Ensure the hose is coiled and stored in a dry, climate-controlled location until spring returns.
Install Outdoor Faucet Covers
Do you need to cover your outdoor faucets? Big yes! Outdoor faucet covers are your faucets’ best friends during the cold winter months. And if you are also wondering whether faucet covers work, then yes, they do. These simple, affordable covers help insulate and protect your outdoor faucets from the harsh elements. Let’s learn how to install them:
1. Purchase the appropriate faucet cover size for your outdoor faucets. They can be found at your local hardware store or on Amazon.
2. Beginning at the top, slip the faucet cover over the faucet, ensuring it fully encloses the fixture.
3. Tighten any adjustable straps or bands provided with the cover to secure it in place.
4. Once installed, double-check the fit to ensure there are no gaps or areas left exposed.
“Prepare your faucets for a winter wonderland with these genius tips! ❄️ Don’t let Jack Frost freeze your outdoor plumbing. #WinterizeYourFaucets #HomeMaintenanceTips”
Insulate Your Pipes
In addition to faucet covers, insulating the pipes connected to your outdoor faucets acts as an additional protective layer against freezing temperatures. Here’s how to effectively insulate your pipes:

1. Locate the outdoor pipes that supply water to your faucets. These are typically visible outside your home or along the exterior walls.
2. Choose your insulation material. Foam pipe sleeves or heat tape are excellent options for this task.
3. Starting from the faucet connection, carefully wrap the insulation material around the pipe, ensuring it covers the entirety of the exposed section.
4. Secure the insulation in place using zip ties or duct tape, making sure it is snug but not too tight.
5. Repeat the same insulation process for any additional pipes connected to your outdoor faucets.
Apply Heat Tape
In areas with extremely low temperatures, insulated pipes alone may not provide sufficient protection against winter frosting. Utilizing heat tapes can prevent freezing and ensure your outdoor faucets remain functional throughout winter. Here’s how to apply it:
1. Purchase a heat tape suitable for outdoor use. We recommend the MaxKosko Water Pipe Heat Tape for pipe freeze protection. Ensure the length is sufficient to cover the exposed section of your pipes.
2. Read the manufacturer’s instructions carefully before proceeding with installation.
3. Starting from the faucet connection, wrap the heat tape around the pipe in a spiral motion. Ensure the tape overlaps slightly to provide consistent heat distribution.
4. Attach the tape securely using electrical tape or the provided brackets and ensure it is evenly spaced along the entire length.
5. Plug the heat tape into an electrical outlet. Follow the manufacturer’s guidelines for temperature control, if applicable.
Heat Source Alternative
If your area experiences severe winters, you may want to consider supplementing your winterization efforts with a heat source. Here are a few alternatives to provide additional warmth:

1. Heat Lamp: Install a heat lamp near the outdoor faucet to create a warm microclimate around the area.
2. Heat Tape with Thermostat: Opt for heat tape that includes a built-in thermostat. This type of tape automatically activates when the temperature drops, providing hassle-free protection.
3. Insulated Faucet Socks: These specialized covers act as cozy sweaters for your faucets, keeping them warm during frosty weather.
Regardless of the heat source you choose, always prioritize safety. Keep flammable materials away, have a fire alarm in place and fire extinguishers in case of a fire outbreak, follow the manufacturer’s instructions, and regularly inspect your equipment.
Related: Will Heat Treatment for Bed Bugs Damage My Home? (Plus 5 Alternatives for 2023)
Regular Inspections and Maintenance of Outdoor Faucets for the Winter Season
While prepping your outdoor faucets for winter is crucial, regular inspections and maintenance during the colder months are equally important. Follow these guidelines:
1. Routinely inspect your outdoor faucets, checking for any signs of damage, leaks, or freezing.
2. Ensure all faucet covers, insulation materials and heat sources remain in good condition and adequately serve their purpose.
3. Immediately address any issues detected during inspections to prevent further damage. It’s best to call a plumber to have a thorough check of your faucets for outlying issues.
Conclusion
Don’t let Jack Frost wreak havoc on your outdoor faucets this winter! Follow our straightforward winterization steps, so you can protect your faucets from freezing and potential damage.
Remember, disconnecting and draining your hose, installing faucet covers, insulating pipes, applying heat tape, employing heat sources, and conducting regular inspections are all key to keeping your outdoor faucets in optimal condition. Take action today and outsmart Jack Frost!


