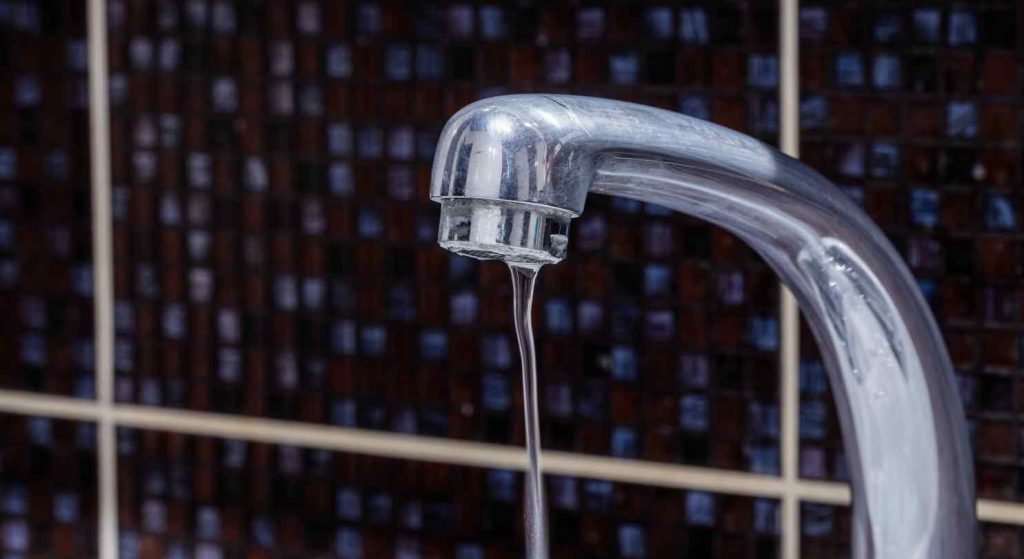
A loose faucet handle is a common issue in many households and can lead to an array of problems, such as water wastage and potential damage to your sink’s plumbing lines. This comprehensive guide will walk you through all the steps you need to take to fix this problem in no time. So let’s dive in!
Introduction
A faucet handle that wobbles every time you turn it or one that spins endlessly without stopping is not just annoying, but it can also lead to costly water bills and damage to your sink’s plumbing lines. That’s why it’s crucial to address this problem sooner rather than later.
Related: Outsmart Jack Frost: 5 Best Ways to Protect Your Outdoor Faucets From Freezing
Why a Loose Faucet Handle is a Problem
A loose faucet handle can cause your faucet to leak, which could eventually lead to water damage in your bathroom. It can also make it hard to accurately control the temperature and flow of water, which can be frustrating and potentially dangerous. By learning how to tighten your faucet handle, you can avoid these problems and ensure that your faucet works efficiently.
The Importance of Regular Bathroom Maintenance
Regular maintenance of your bathroom fixtures, including your faucet, is key to preventing problems before they occur. By routinely checking your fixtures for any signs of wear and tear and addressing any minor issues promptly, you can save yourself a lot of time, money, and hassle down the line.
The Tools You’ll Need
To tighten your faucet handle, you will need a few basic tools. These include:

Screwdrivers
You’ll need either a Phillips-head or flat-head screwdriver, depending on the type of screws used on your faucet handle. Always make sure to use the correct type and size of screwdriver to avoid damaging the screws.
Wrenches
An adjustable wrench or a combination wrench is necessary for tightening the nuts and bolts on the faucet. A basin wrench might also be needed if the retaining nut is difficult to access with a conventional wrench.
Plumber’s Putty
Plumber’s putty is a sealant that you can use to help secure the faucet handle and prevent it from coming loose in the future. Using a plumber’s putty is optional but can provide an extra level of security.
Get to Know Your Faucet Type
Before you start the repair process, it’s important to know the type of faucet you have as the tightening process may vary. There are mainly three types of faucets: single-handle faucets, dual-handle faucets, and touchless faucets.
Single Handle Faucets

These faucets have only one handle that controls both the temperature and flow of the water. The handle is usually attached to the baseplate with a set screw.
Dual Handle Faucets

These faucets have two handles, one for hot water and one for cold water. Each handle is typically secured with a set screw or a retaining nut.
Touch-less Faucets

As the name suggests, these faucets don’t require any physical contact to operate. They are usually controlled by sensors and are less likely to have loose handles. However, they may still need maintenance and repairs from time to time.
Step-by-Step Guide on How to Tighten a Faucet Handle
Now that we’ve covered the basics, let’s get into the nitty-gritty of how to tighten your faucet handle.
Step 1: Shut off the Water Supply
Before starting any plumbing work, always remember to shut off the water supply first. This is to prevent any accidental flooding should something go wrong during the repair process. You can usually find the shut-off valves underneath the sink. Turn each valve clockwise until fully closed.
Step 2: Remove the Faucet Cover
Next, remove the decorative caps on top of the handles. These caps are often labeled or colored — “H” or red for hot and “C” or blue for cold. Use a knife or flat-head screwdriver to gently pry these covers off.
Step 3: Tightening the Handle
Inside, you should see a Philips- or flat-head screw. Turn this screw clockwise until it is firmly seated. For a stronger and longer-lasting repair, you can fully remove the screws and add a non-permanent thread sealant compound to the screw’s threads. This will help prevent the screw from coming loose in the future.
Step 4: Reassembling the Faucet
Once the handle is tightened, replace the decorative cap. Turn the water supply back on and test the faucet. If the handle is no longer loose, then congratulations! You’ve successfully tightened your faucet handle.
Common Troubleshooting Tips
Even with the best intentions, things can sometimes go wrong. Here are some common issues you might encounter when tightening your faucet handle, along with solutions on how to fix them.
Dealing with a Stripped Screw
If your screw is stripped, meaning its threads are worn down and it can’t grip the material it’s supposed to secure, you might have a hard time removing or tightening it. In such cases, you might need to use a screw extractor or even replace the screw altogether.
Addressing a Leaking Faucet
If your faucet continues to leak even after you’ve tightened the handle, then the issue might be with the faucet cartridge. The cartridge is responsible for controlling the water flow and temperature. When it becomes worn out or damaged, it can cause leaks. In this case, you’ll need to replace the cartridge.
Fixing a Stuck Handle
If your faucet handle is stuck and won’t turn, it could be due to mineral deposits that have built up over time. Using a limescale remover or vinegar can often help dissolve these deposits and free up the handle. If this doesn’t work, you might need to replace the handle or the entire faucet.
Maintaining Your Bathroom Sink Faucet
Tightening a loose faucet handle is just one aspect of faucet maintenance. Here’s what else you should do to keep your bathroom sink faucet in good working order:
Regular Checks for Loose Parts
Regularly check your faucet for any loose parts and tighten them as soon as possible. This includes not just the handle, but also the faucet spout and the base. Keeping all parts of your faucet tight will ensure that it operates smoothly and lasts longer.
Cleaning and Lubricating Moving Parts
Cleaning and lubricating the moving parts of your faucet can also help prevent problems. Mineral deposits from hard water can cause pieces to stick or corrode over time. Regular cleaning can help prevent this. Lubricating the moving parts can also make your faucet operate more smoothly and help prevent wear and tear.
When to Call a Plumber
While many faucet problems can be fixed with a little DIY know-how, there are times when it’s best to call in a professional. If you’ve tried everything and your faucet is still leaking or the handle is still loose, it might be time to call a plumber. Also, if you’re not comfortable doing the repairs yourself or if the repairs involve complex parts like the faucet valve, it’s best to get professional help.
Conclusion
Tightening a loose faucet handle is an easy fix that can save you a lot of trouble in the long run. With the right tools, a bit of patience, and this comprehensive guide, you can easily tighten your faucet handle and ensure that your faucet works efficiently. Remember, regular maintenance is key to preventing plumbing issues and ensuring the longevity of your bathroom fixtures. Happy fixing!